How to create a simple Web eCom Bot?
Hope you have signed up and logged in already.
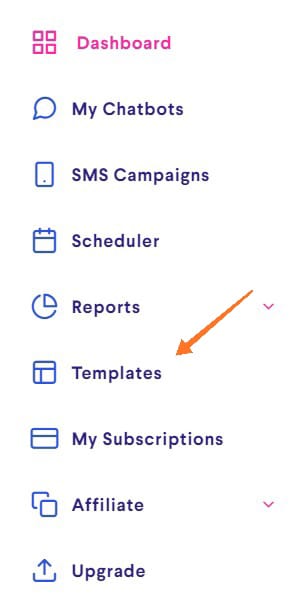
Step 1: Click on Templates
You will find this option in the dashboard
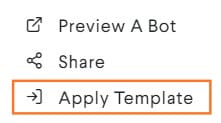
Step 2: Pick a Template
Choose the E-Com Template from the list based on the industry you are in and click on Apply Template.
Now, choose the bot you want to apply the template to.
You should have a flow in your bot now.
Open the bot to confirm.
Step 3
Publish the new flow because when you apply a template, the flow is added but the bot is still in draft until you hit the Publish button.

Step 4
Add/Import Categories by following one of these methods.
Add Categories from Dashboard – https://kb.botbaba.io/docs/how-to-add-product-categories/
Bulk Import Categories using excel – https://kb.botbaba.io/docs/how-to-import-product-categories-in-bulk-using-excel/
Step 5
Add/Import Products by following one of these methods.
Add Products from Dashboard – https://kb.botbaba.io/docs/how-to-add-products/
Bulk Import Products using excel – https://kb.botbaba.io/docs/how-to-bulk-import-products-using-excel/
Step 6
Publish the bot and double check it!
Additional
- Integrate your payment gateway from the Integrations section of your bot.
- Add push notifications from Integration section as well.
- Explore ECom Settings section for any additional settings you might want to adjust.