How to add Products?
To add products on your bot, you’ve to follow the below mentioned steps:
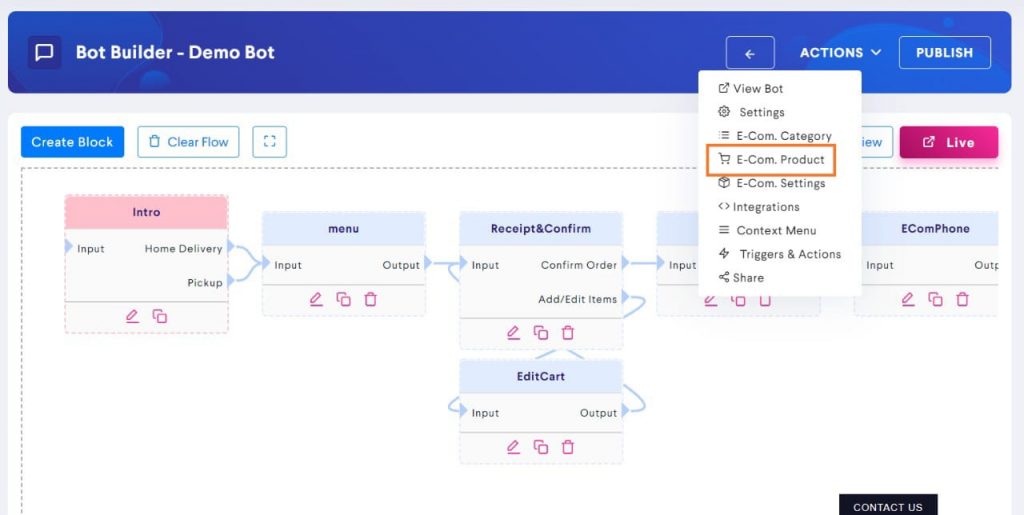
Step 1: Go to E-Com Products
Click on Actions button and then on E-Com Products.
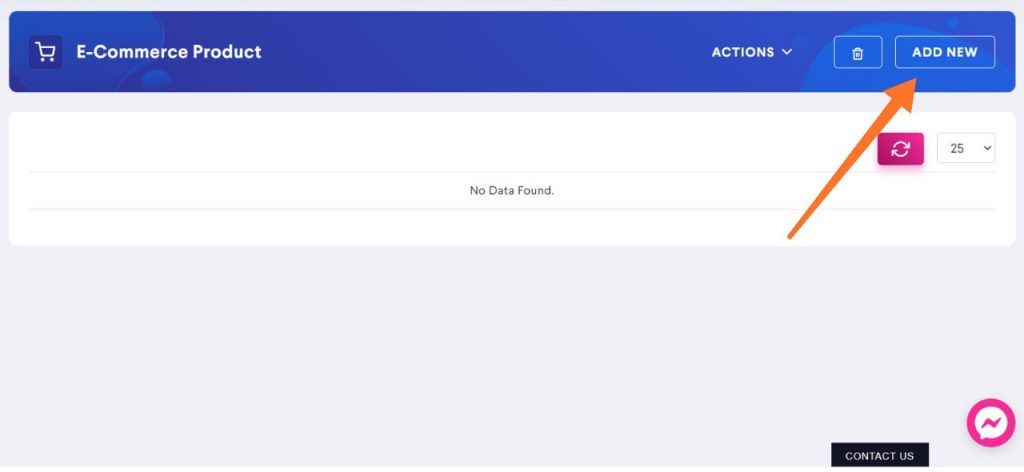
Step 2: Click on Add New
To add a product, click on Add New button on the top-right side of the dashboard.
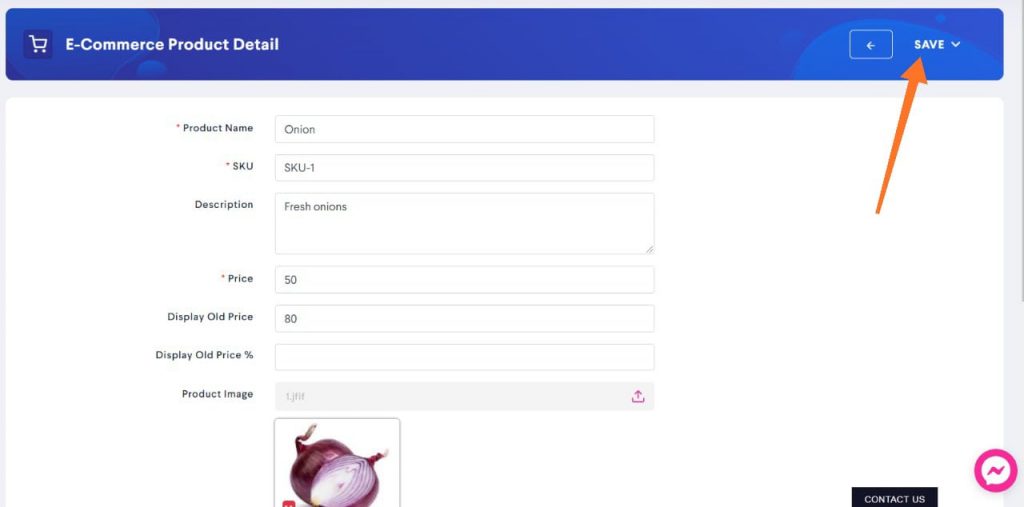
Step 3: Fill in the details
You will have to fill basic details about the products such as:
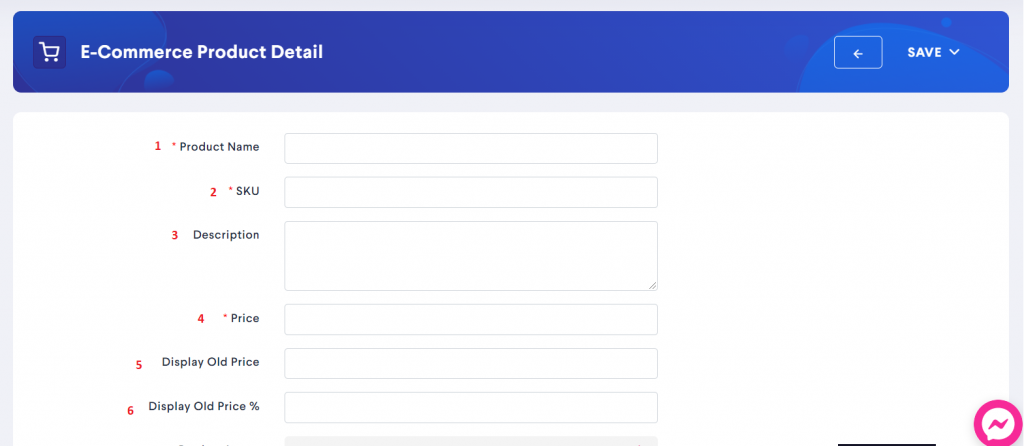
- Product Name – Just write the product’s name here. For example, if you sell groceries then it could be Onions, Tomatoes, etc.
- SKU – SKU code works as a unique identifier for each product. It helps the bot differentiate from one product to another. You can set the code based on your choice. For example, it could be S-1, S-2, S-3, S-4 and so on.
- Description – Writing a description is optional. You can write a brief description for your products to help customers better understand the product.
- Price – You can set the here.
- Display Old Price – If you’re selling the product at a lower price than from earlier, then you can also write the old price. This gives a sense of discount to the customer. However, if the old price was lower, then there is no need to mention it.
- Display Old Price % – Old price % is the percentage of difference between the old price and the new price. For example, if the old price was $100 and the new price is $50, then the old price % would be 50%.
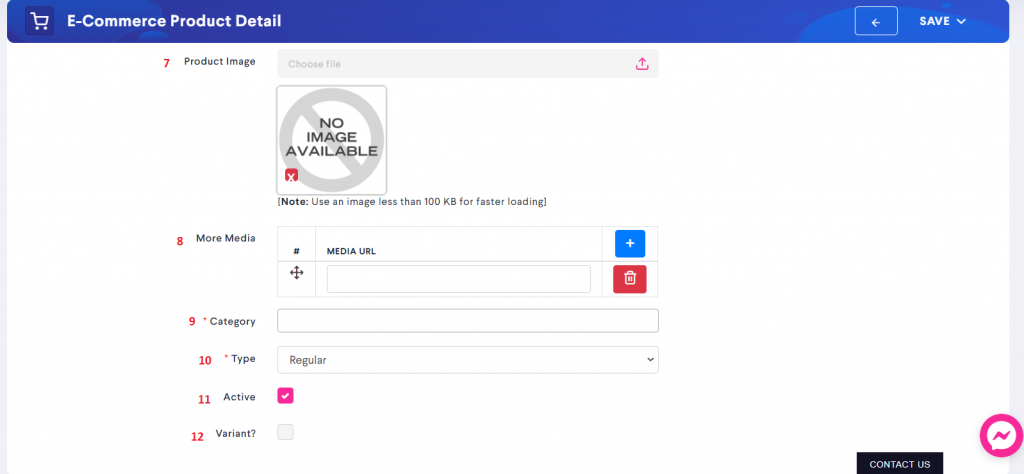
- Product Image – You can also add images to make your products more exciting. Simply click on Choose File option and then select an image from your computer to upload.
- More Media – You can paste the URL of more media files here.
- Category – Your products are divided into categories to make the purchasing experience easier for users. You must choose a category to proceed further. To know how to add E-Com categories, click here.
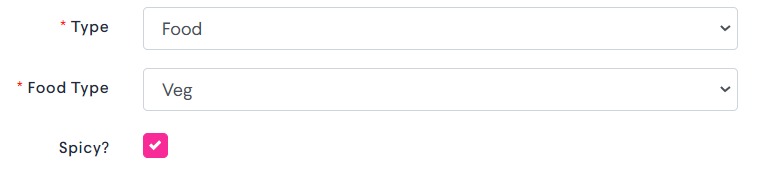
- Type – There are 2 types of products; Food and Regular. All the non-food items come under Regular type. Under Food type, there is further categorization into food type (veg, non-veg, contains egg). You can also tick on Spicy button to let the user know whether a food item is spicy or not.
11. Active – This option is used to let the user know whether a particular product is available or not. If the product is available, check on Active.
12. Variant – To know how to add product variant, click here.
Step 4: Click on Save
Make sure you click on Save button before moving forward.
To add more products repeat the same process.