How to set a minimum order amount?
Hope you have already created an E-Com chatbot by going through Knowledge Base articles on the same. If you haven’t yet, then follow the guide HERE.
Now, in order to set minimum order amount you have to follow a simple procedure.
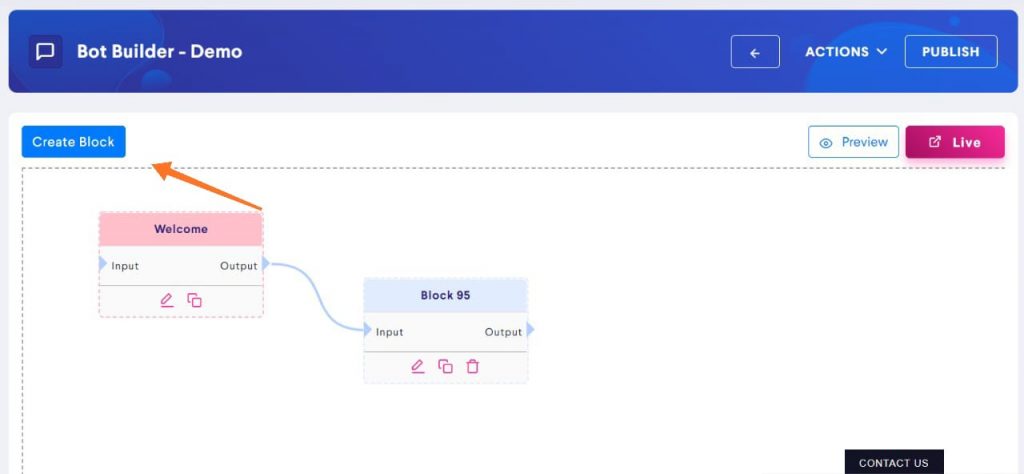
Step 1: Create 3 New Blocks
First of all, create 3 blocks. To do that, you have to drag the “Create Block” button and drop it in the bot builder.
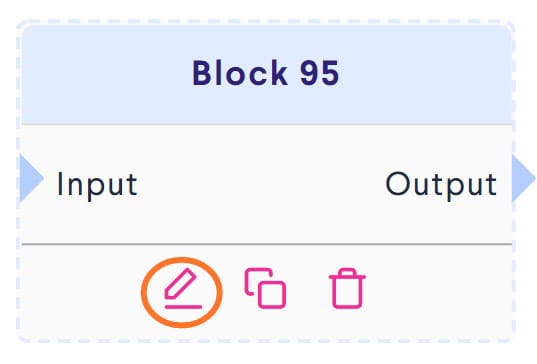
Step 2: Edit Block (1st Block)
Now, click on the Edit Block button to fill the necessary details.
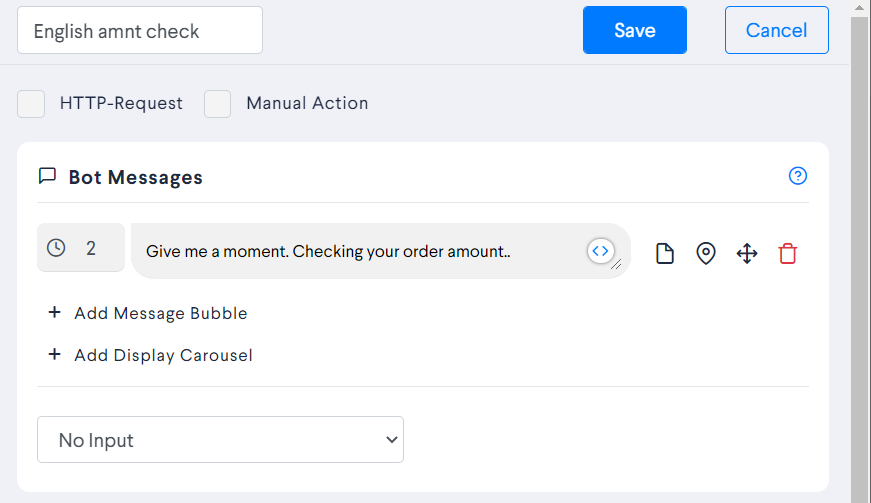
Step 3: Fill the Necessary Entries
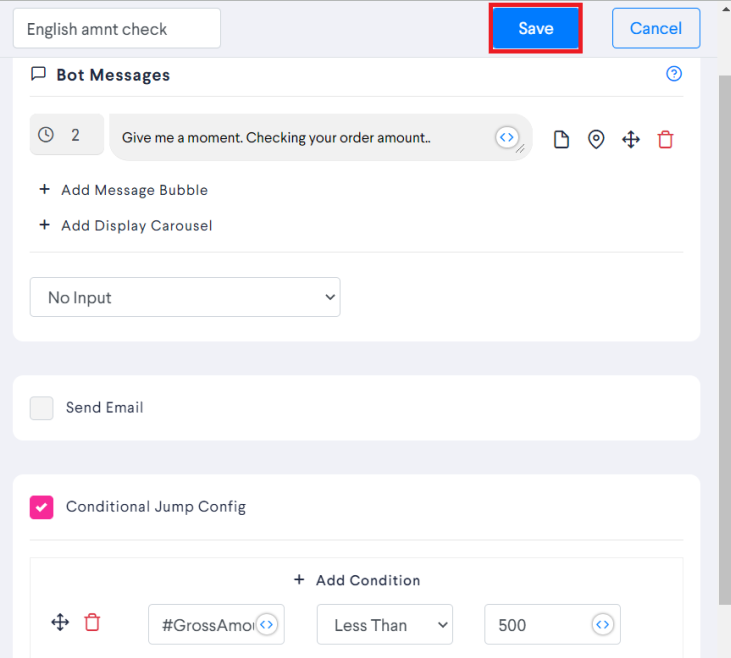
Add all the necessary details like writing a message for your customer, decide a text input or set conditional jump configuration.
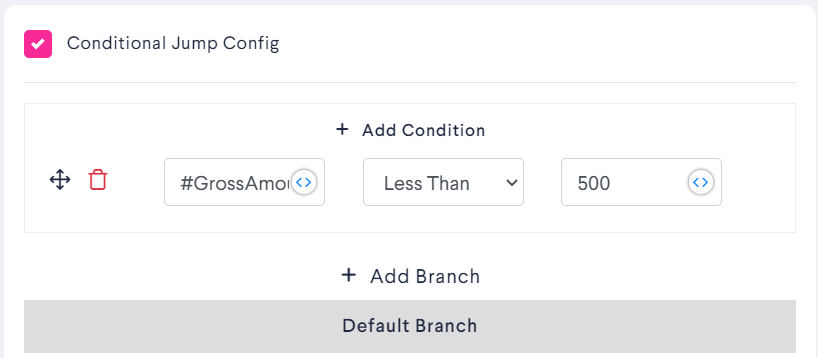
Step 4: Add Condition
You can add condition on your minimum order amount.
For instance, in the following example, if the minimum order amount is INR 500, then the condition will be: Field = #GrossAmount# ? Less Than ? Value = 500. This means that customers can only checkout if the minimum order amount is at least INR 500. You can change the conditions as per your choice.
[Gross Amount is the sum of charges of all products and Total Amount is total charges including additional charges such as taxes and delivery charges].
Step 5: Click on Save
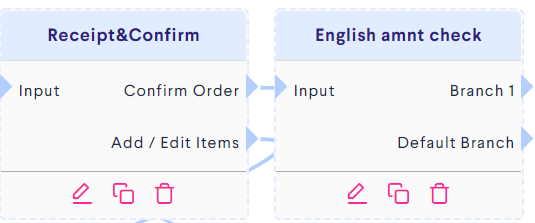
Step 6: Connect the Block with Receipt&Confirm Block
Now, you can connect the Receipt&Confirm Block with the Amount Check Block and the EditCart Block.
Step 7: Click on Edit Block ( 2nd Block)
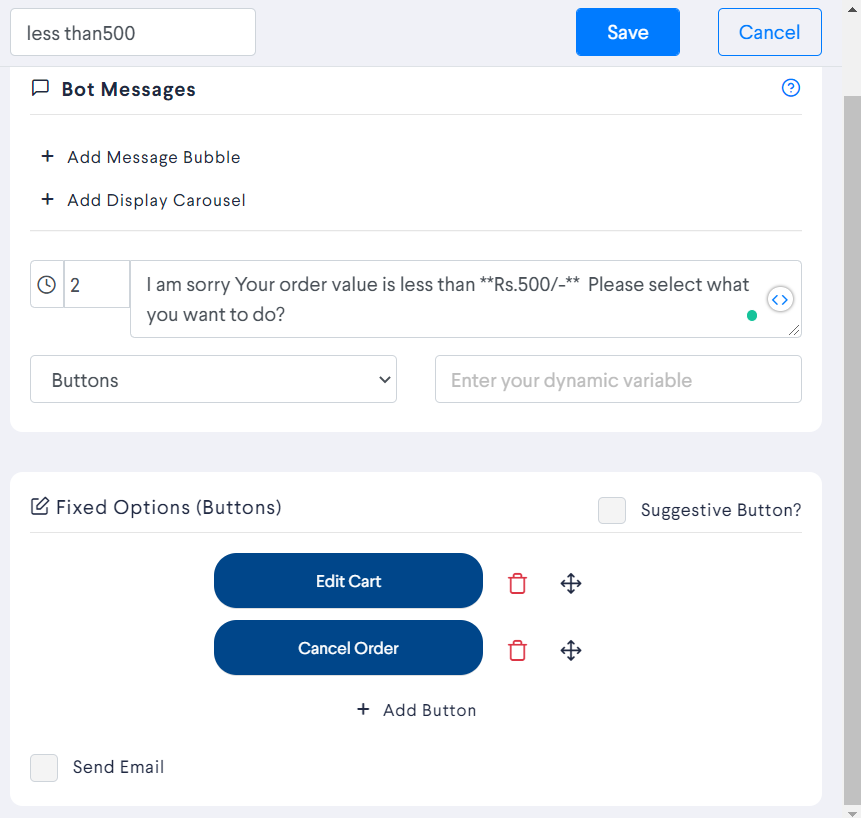
Now, edit the second block to complete the flow.
Enter the message “I am sorry Your order value is less than **Rs.500/-** Please select what you want to do?” This will let the customer know that their order does not qualify for the minimum order amount.
Step 9: Click on Save
Make sure to click on the Save button.
Step 10: Click on edit Block ( 3rd Block)
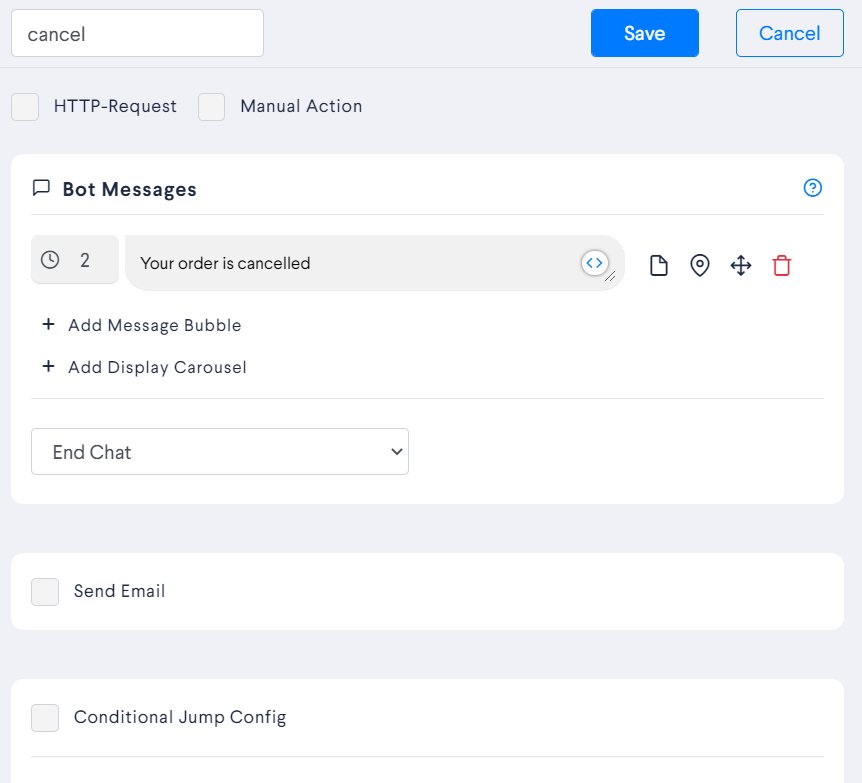
Now, edit the third and final Block.
Step 11: Enter a message
Write the message that you want to show the customer and save it. Like ‘Your order is cancelled’.
Step 12: Connections
This is how the web of blocks will look like. Make sure that all the blocks are connected in the right order.

Step 13: Publish
Do not forget to publish your bot to save the recent changes.