How to push order data to a Google Sheet via Pabbly using EComOrderJson global variable?
This is a quick guide on how to push the data of an order to the Google Sheet using an E-Com global variable #EComOrderJson#.
Step 1: Connect Pabbly to Botbaba using Webhook
Check out the article on connecting Pabbly through webhook from here.
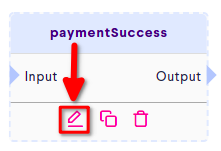
Step 2: Open the last block in your block flow
Click on the edit button on the last block of the bot flow.
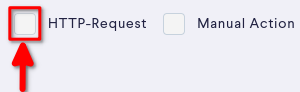
Step 3: Click on HTTP-Request
You’ll find the HTTP-Request option at the top right of the page, click on the checkbox.

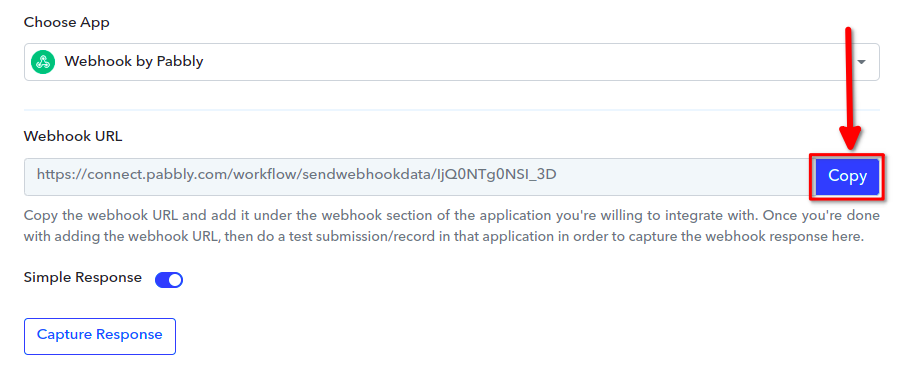
Step 4: Paste the Webhook URL
On clicking on the HTTP-Request, a panel for making HTTP-request will appear.
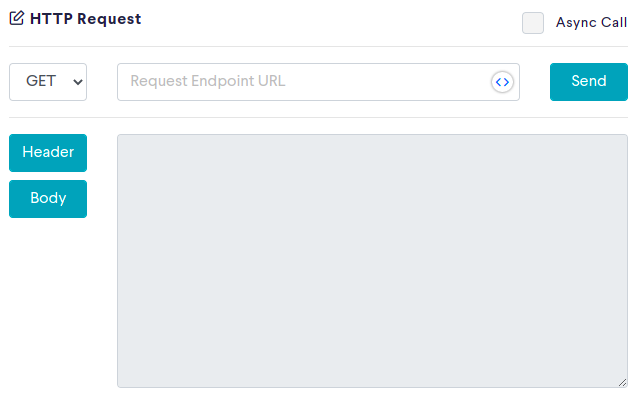
The HTTP-request panel provides sections for choosing HTTP method and Request Endpoint URL
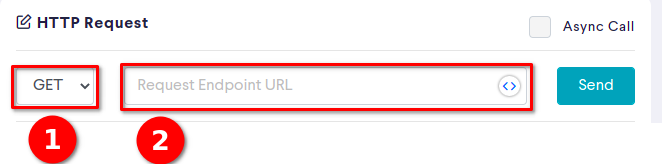
- Click on GET and select the POST option.
- Paste the Web-hook from Pabbly to Request Endpoint URL. For the first time, clicking on the copy will make the webhook wait for the webhook response.

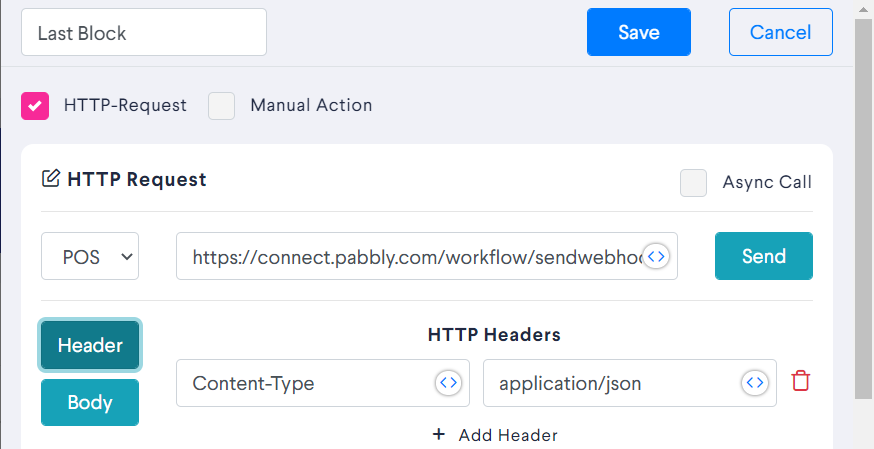
Step 5: Add Header in the HTTP Request
Click on Header Button, which will open the Header panel. Click on “+ Add Headers”. This will open two input boxes in a row. In the first input, paste “content-type”, and in the second input box, paste “application/json”.
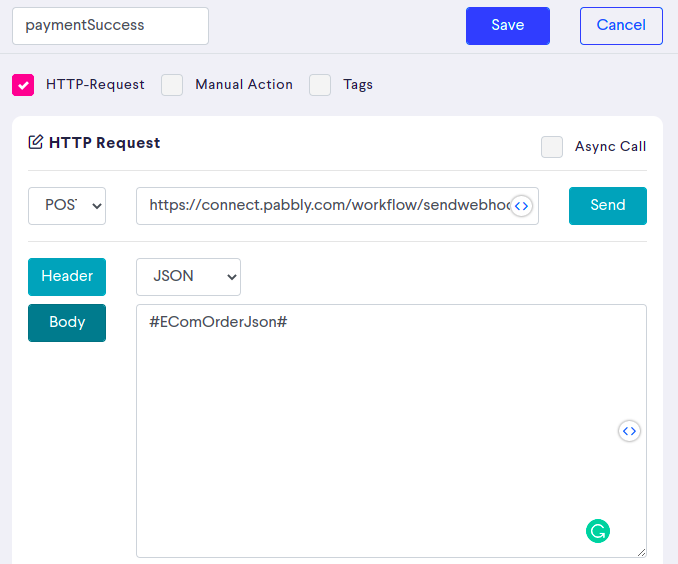
Step 6: Select Body as JSON and enter #EComOrderJson#
Click on the Body button, and place #EComOrderJson# in body panel.
Step 9: Click on Save & Publish the Bot
Click on the Save Button of the Block, and publish the bot by clicking on Publish Button.


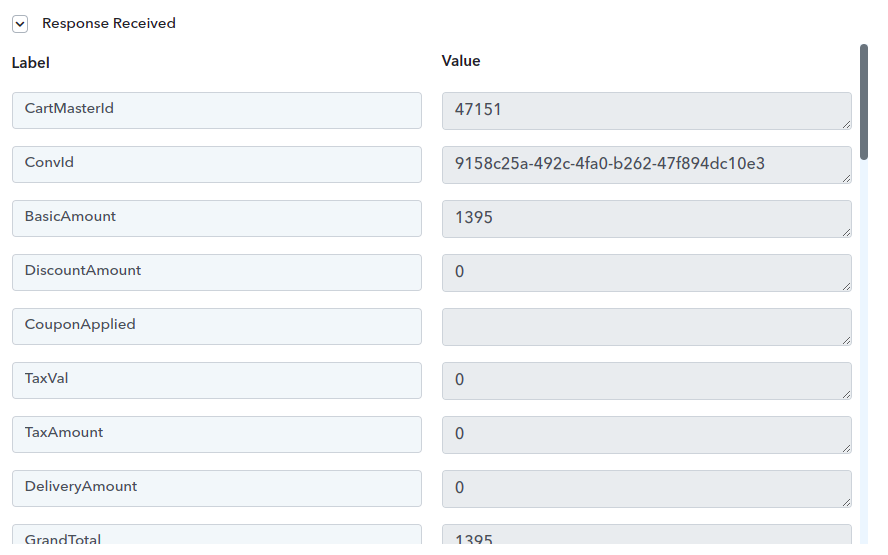
Step 10: Go to Pabbly & Capture Webhook Response.
Run the bot till the block in which the webhook was implemented. This capture the response in the webhook of Pabbly.
Step 11: Save Data to Google Sheet.
The process of pushing data from Pabbly to Google Sheets is explained below.
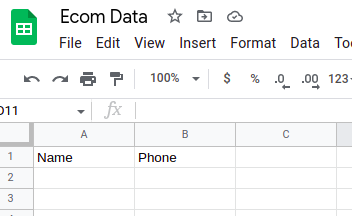
Step 11.1: Create a Google Sheet
Create a Google Sheet and Add Headers for each respective Field.
Step 11.2: Create an Action Step in Pabbly
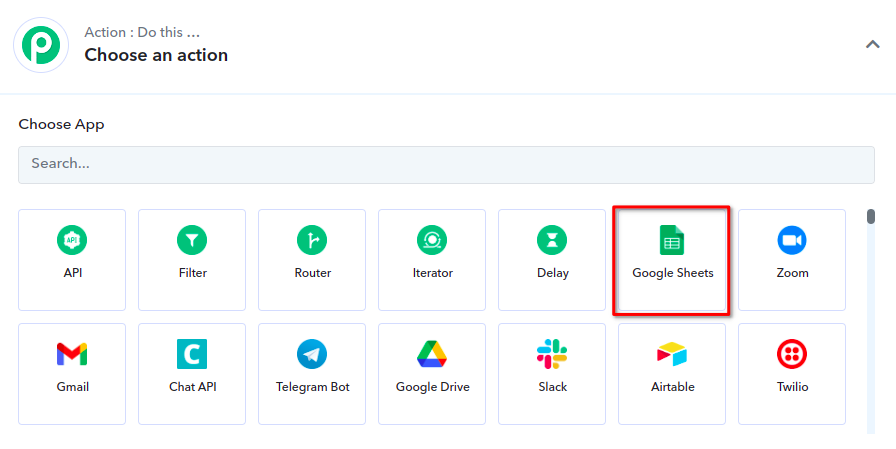
Add a new Action Step in Pabbly by clicking on the + (Add Action Step) button. It will open the add new action panel.

Step 11.3: Add Google Sheet in Action Step
Click on the Google sheet icon.
This will open the panel for Google Sheet action selection.
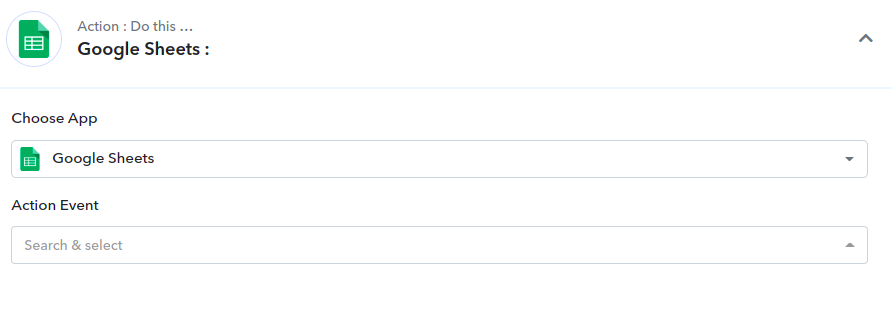
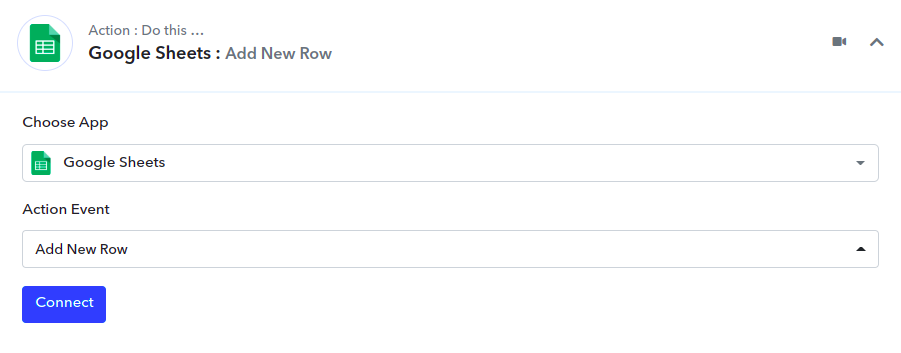
Step 11.4: Choose action for Google Sheet
Click on Action Event’s selection Box, this opens the options panel for the sheets action.
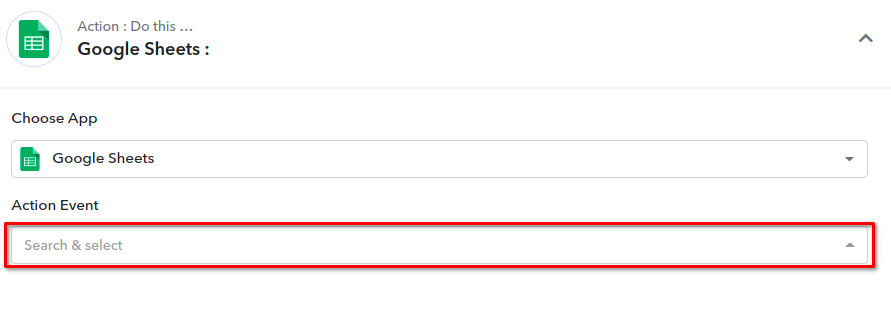
Choose the Add New Rows option from the options.
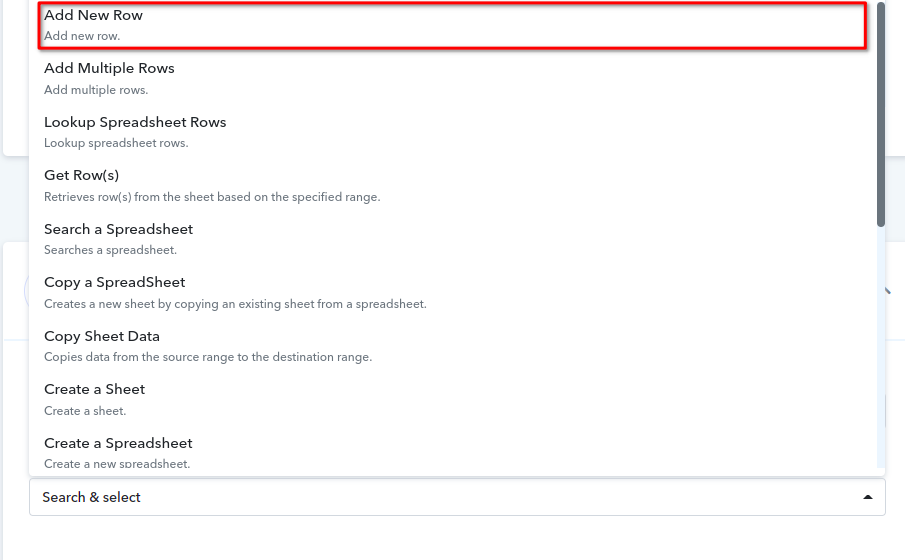
It will select the Add New Row Action.
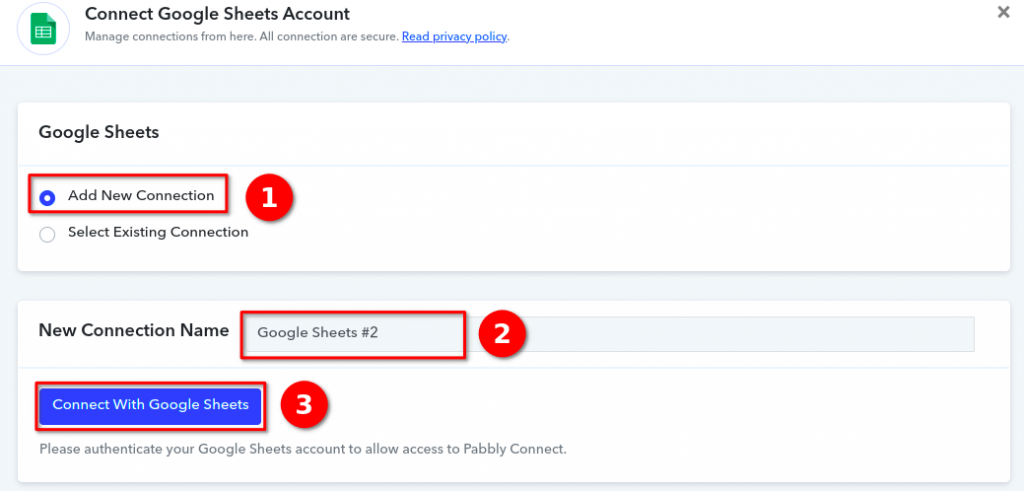
Step 11.5: Integrate a Google account with Pabbly
Click on Connect Button, it will open Connect Google Sheets Account panel.

On this panel,
1. Select Add New Connection
2. Provide a name for the connection in New Connection Name’s input Box
3. Click on Connect With Google Sheets, and provide access to Google Sheets to Pabbly.
when the integration of Google Sheets is successful, it will return to the action panel.
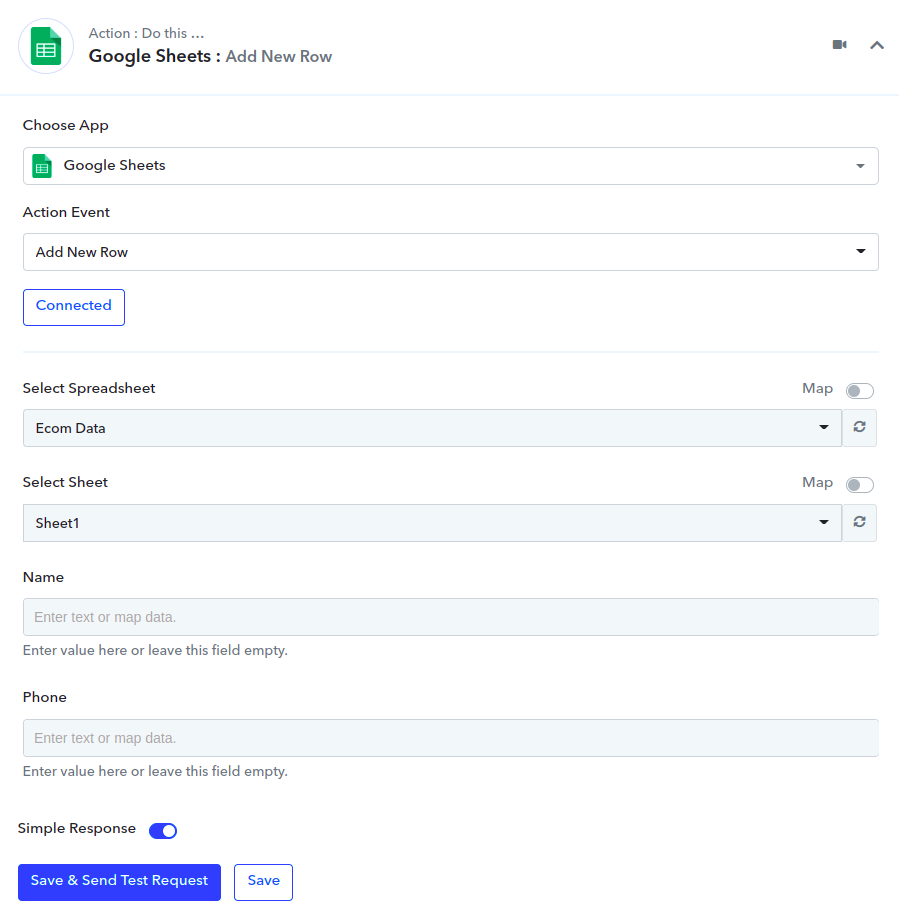
Step 11.6: Map webhook data with Google Sheets
Click on Name’s input field. This will provide you the option to search the data field, and get data from webhook.
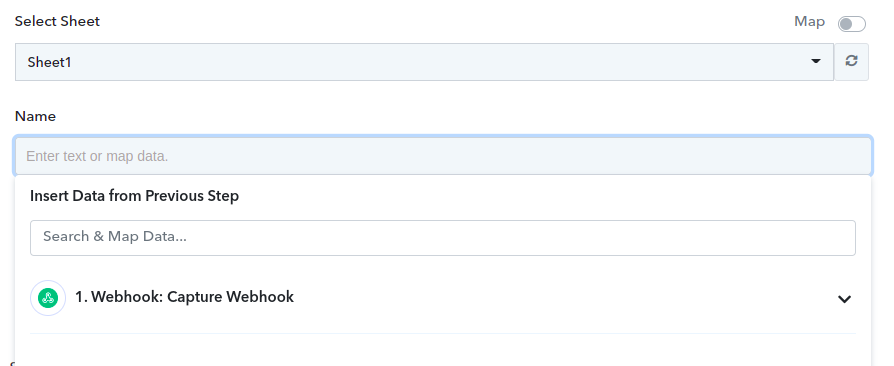
Click on webhook, this will open webhook fields, scroll down and select the Name field.
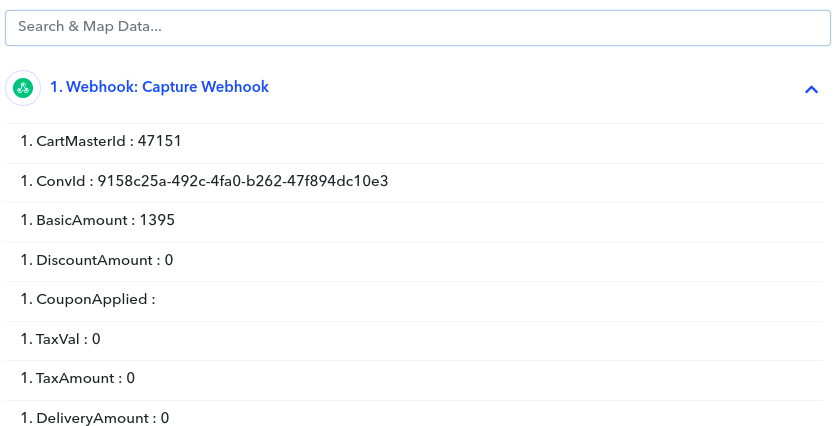
Similarly, map the phone field as well. Alternatively, a search for the Phone field will provide the phone field.

Click on the Save button, this saves the flow. This also completes the process to push data to Google Sheet via Pabbly.