How to setup Live Chat on botbaba?
Here is a video of the same…
Step 1: Go to the Live Chat page of your bot

Step 2: Setup the appropriate messages from the Live Chat Settings

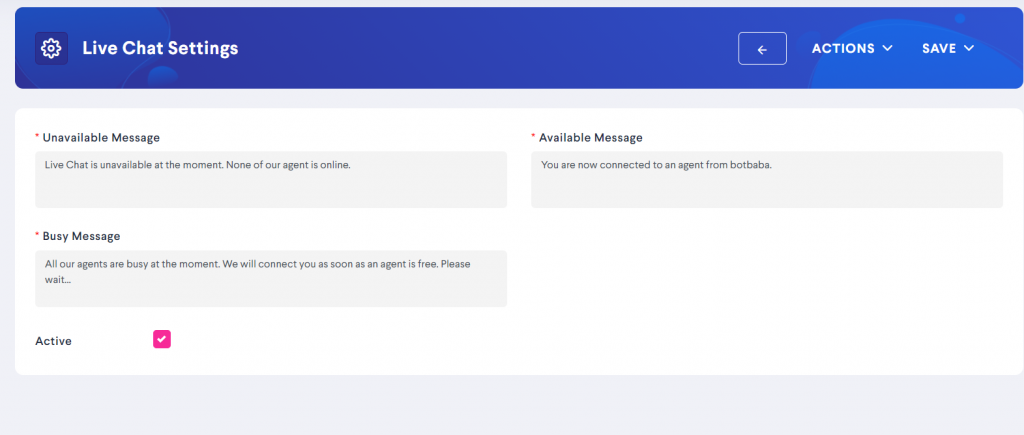
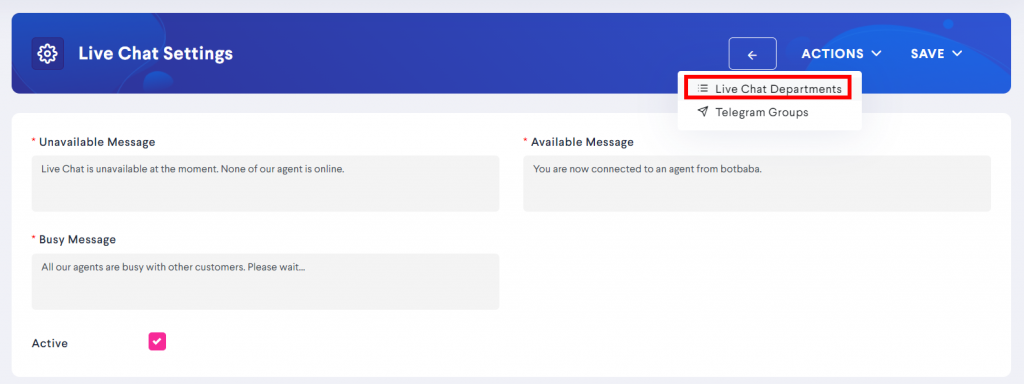
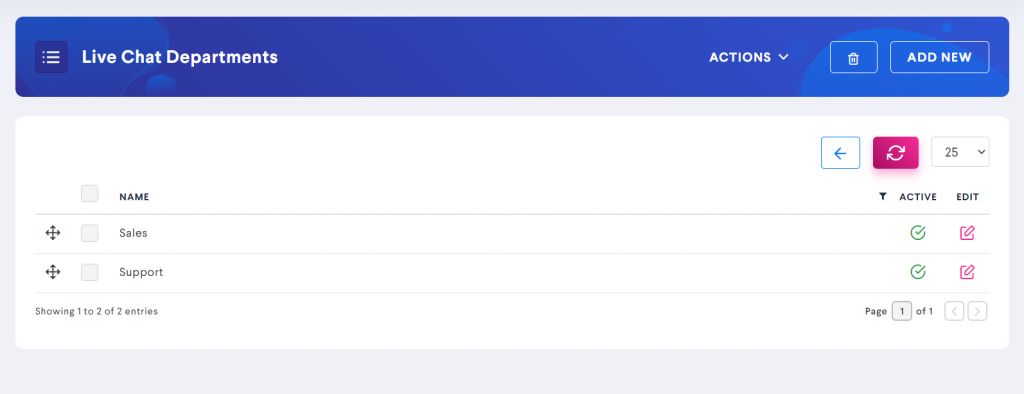
Step 3: Add your Departments
Step 4: Create a New Telegram Group from Telegram Mobile App

Step 5: Add @botbaba_livechat_bot to your Telegram Group
We have created a botbaba LiveChat Telegram bot (@botbaba_livechat_bot) which you need to add to your group.
When you add this bot to your group. You will receive a message like below in your group.

Step 6: Make @botbaba_livechat_bot the admin of this group.
Once you make it the admin, you will receive the message as below.

Step 7: Configure this Telegram group on botbaba
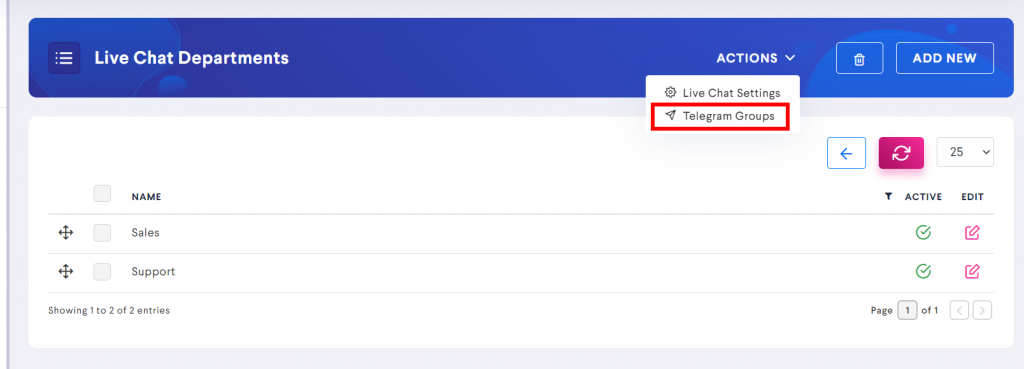

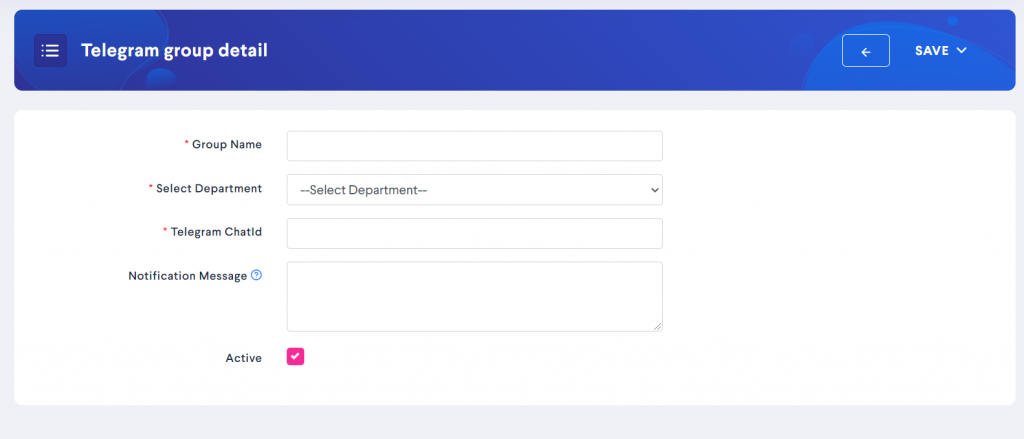
- Group Name: You can keep the name as anything you want, but for the ease of your use, name this group same as telegram or alternatively you can name this group based on the agent managing that group.
- Select Department: The departments you added in Step 3. Configure this group belongs to which department.
- Telegram ChatId: You received this info when you added the botbaba_livechat_bot to your telegram group. Copy it from there and paste it here.
- Notification Message: This message will be sent to the telegram group when a new conversation is started. You can add dynamic and global variables to this field.
This field is useful to send the chat history of the user to the agent so they know what flow the user has been through.
Save & Close
Congratulations, you have successfully configured the 1st Telegram group to work with botbaba Live Chat.
Step 8: Final Step – Set the Input Type as Live Chat from the Edit Block window
Add the live chat input type anywhere you want the user to request for a live chat.

Note: The bot flow will end as soon as the user requests live chat. All the variables of the conversation can be forwarded to the agent in the Notification Message field inside the Telegram Group. Refer Step 7 of the tutorial.