Widget Settings Explained
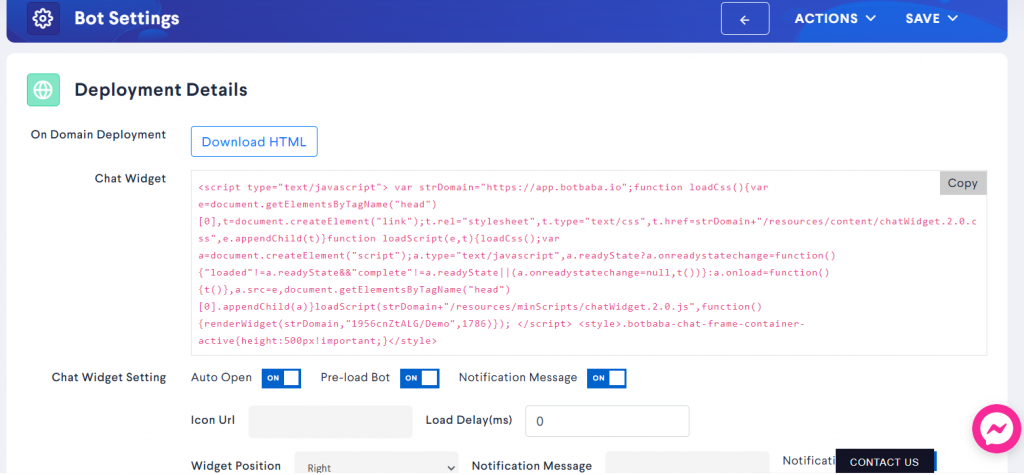
- On Domain Deployment – You can download the html file from here and host it on your server, on any path you like and you will have a landing page Chatbot on your website/domain.
- Chat Widget Script – Copy paste the script within the body tags of your website and the widget will appear on the website.
- Auto Open – Setting it to On will cause the Widget to Auto Open on page load. You can enter a time-delay in milliseconds if you want the widget to auto open after a certain delay.
- Pre-load Bot – This will pre-load the bot along with your website, meaning when the website is ready to go, the bot is as well. We suggest to keep this setting ON. The only situation where you may want to turn it off is when you think the bot is taking too much time to load which is causing an impact on your website load times. (Notify us in such situation)
- Notification Message – You can display a custom message to your website visitor to get some attention to the website widget.
- Icon URL – You can set your own Custom Icons on the bot widget, recommended icon size is 100 x 100 pixels. Do check the icon file size, it shouldn’t be too large that it takes a lifetime to load that icon on your website.
- Widget Position – You can set the widget to appear at the bottom right or bottom left side of your website.