Getting Started Guide
Creating a Chatbot
This is a quick tour of how you can get started with creating your first chatbot using botbaba.
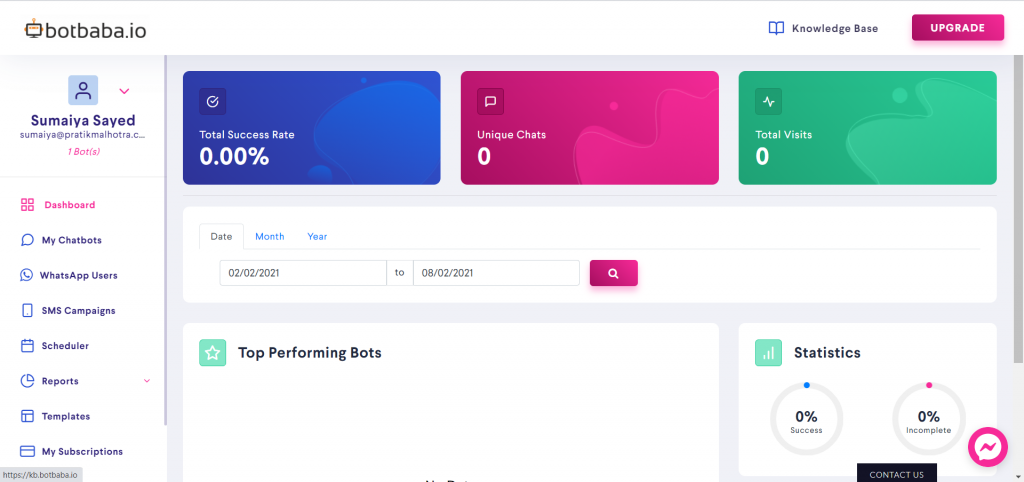
Dashboard

This is the first step. Once you are in the dashboard, you’ll be able to create a chatbot from any of the existing chatbot templates or you can wish to create from scratch by clicking on “My Chatbots” and then Click on the name of the chatbot to enter the bot builder..
The bot which is there by default is the 7 day free trial bot.
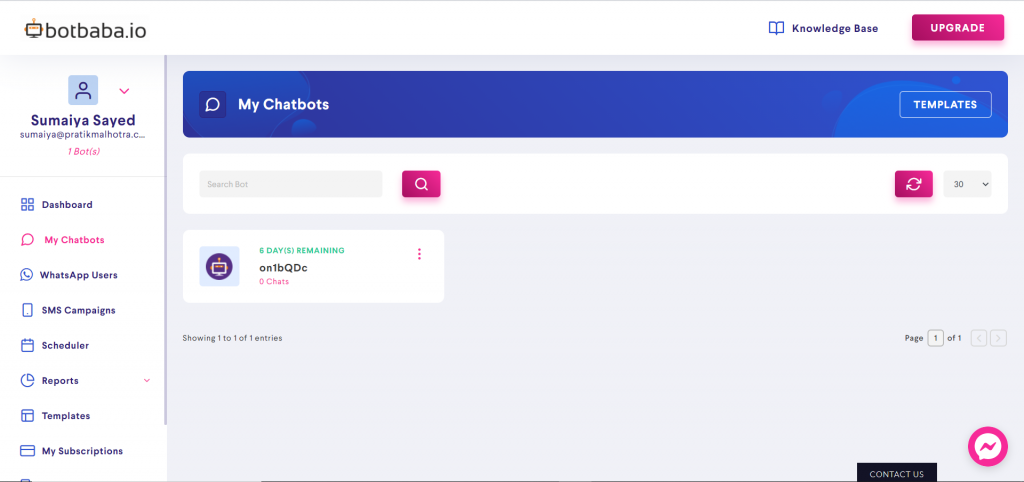
My Chatbots

Clicking on the bot name will take you to the bot builder page..
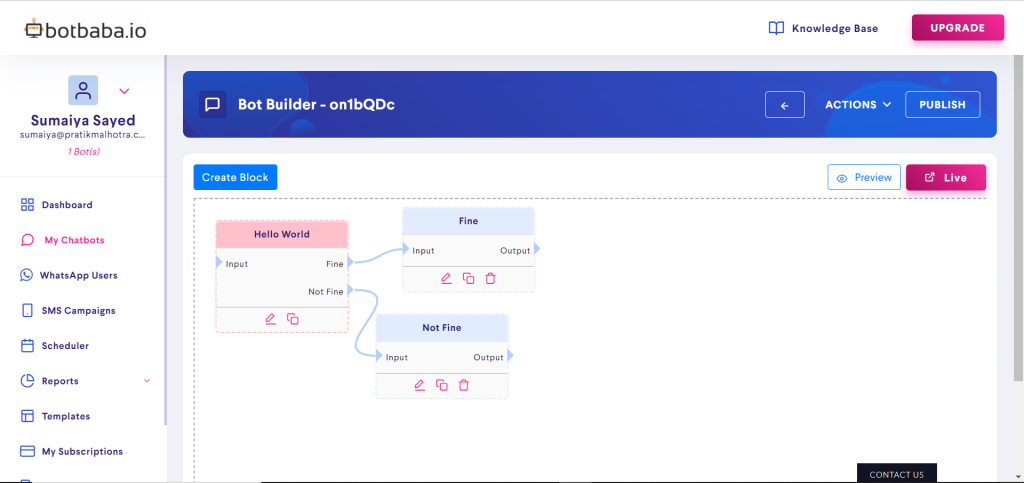
Bot Builder

The bot builder page has a pre-built Hello World flow for you to play around.
Editing a Block
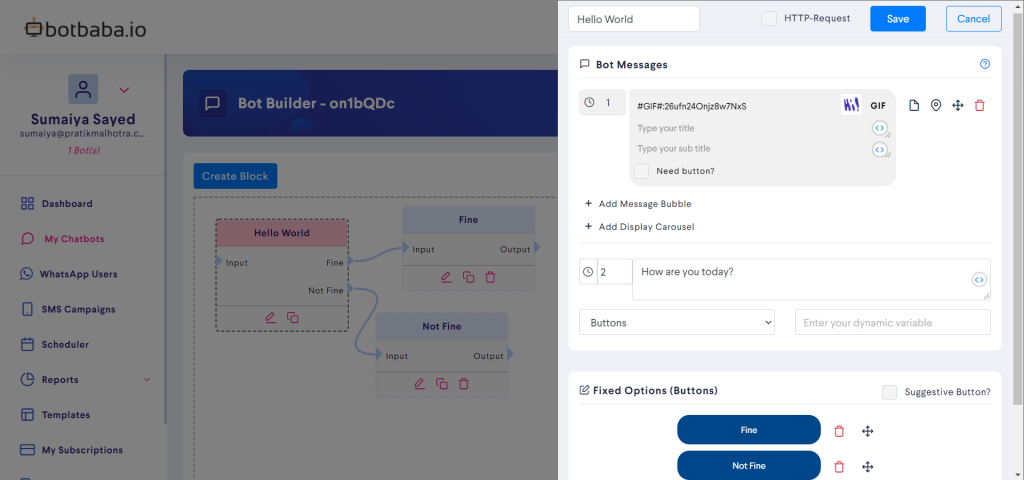
Clicking on the edit button of any block will let you edit the messages of the bot flow.

Clicking on edit button will open up a window called the modal where you can see the messages that the bot will send the user and the input options that the user has to respond to the bot.

Under the Bot Messages heading, the bubbles you see here are the actual messaging bubbles that go in the bot. You can simply add your questions/statements here. At the middle of the bot messages section there is a down menu in which bot owners can choose how users can respond to these messages.
In the botbaba bot builder we have several different ways to receive input from users. These range from standard text input in chat to pre-fixed quick reply buttons and custom input specific UI’s like calendar, file upload and geo location. You can find more about the different types of Input UI that appear in this dropdown menu in another article.
Create a new block
You can create a new block by dragging the Create Block button and dropping it on the Bot Builder.
Connecting two blocks
A series of blocks makes a conversation and you will have to join one block to the other for the conversation to flow. The video below shows you how to connect two different blocks.
Click on the output of one block and connect dotted line to the input of the next block in the flow.