Schedule Messages for Broadcasting using WhatsApp Schedule
This article will guide on how to schedule a WhatsApp message for broadcasting. The main aim of the article is to provide information on sending messages, however, scheduling an HTTP Request can also be done using the same method.
Step 1: Create a Manual Trigger
Click on the Chatbot’s three dots.
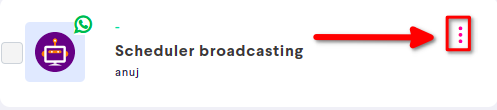
This opens the menu, Select Triggers & Actions.
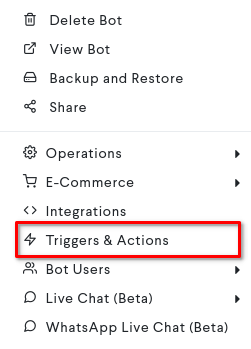
Inside the bot-builder, click on ACTIONS, and choose the Trigger & Actions option.

It will open the Triggers and Actions page.
Step 2:- Open Trigger & Action Detail Page
Click on the ADD NEW button on the right top corner of the page.

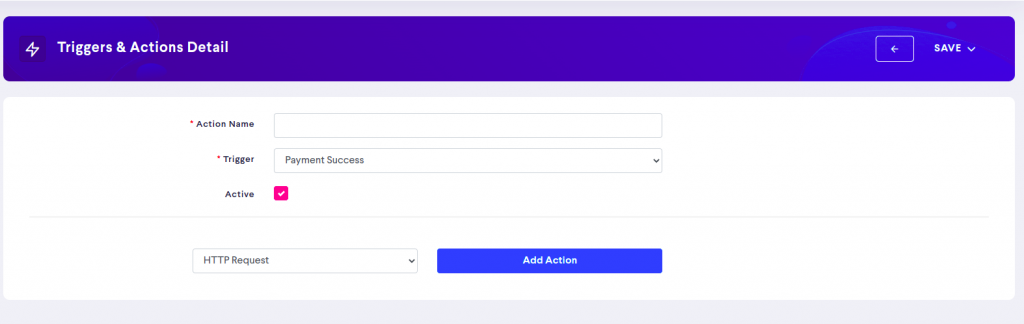
It will open the Triggers & Actions Detail page for adding Trigger & Action Page.
Step 3:- Add a Manual Trigger and corresponding Action
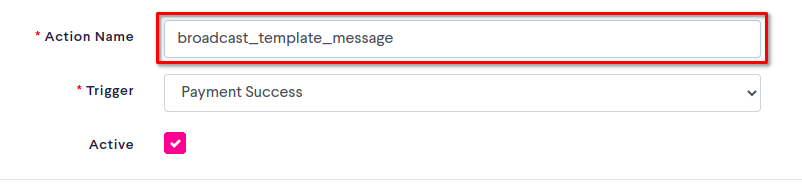
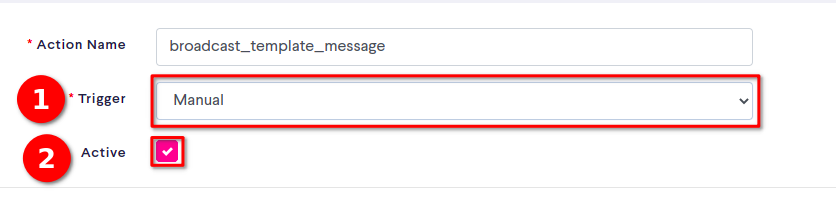
- Type a suitable Action Name.
2. Select Trigger as “Manual”, and ensure that the Active option is checked.
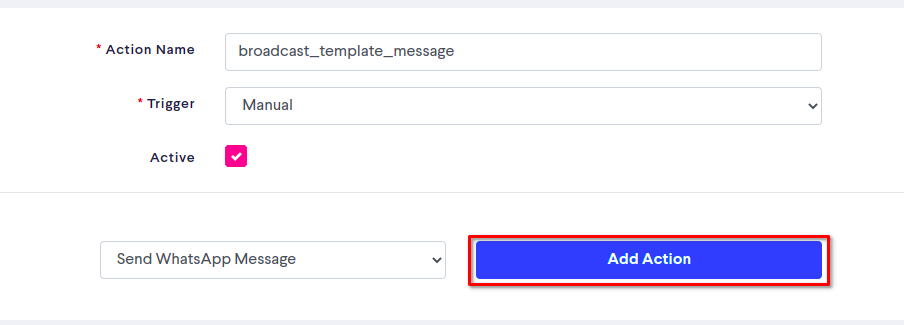
3. Click on the Action Selection box, and select WhatsApp Message, if the bot is integrated with the 360Dialog key. If the bot is integrated with the Key provided by any other WA Business Key provider, choose WhatsApp Message according to the Key Provider. For more information check the article on how Trigger and Actions work.


4. Click on Add Action to add the action.
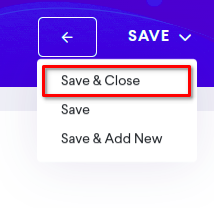
5. Click on Save Button, and choose Save and Close Option from the menu to close it.

Step 4:-Open the WhatsApp Scheduler page
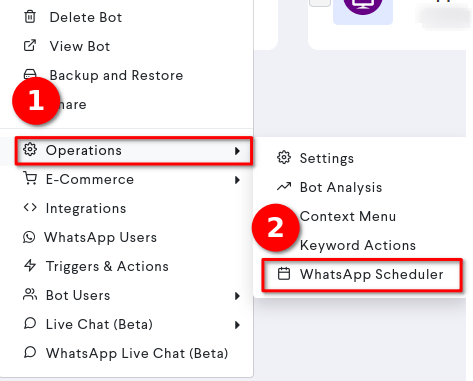
Click on the Chatbot’s three dots.

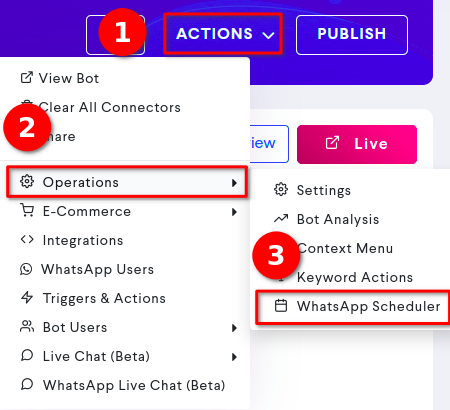
This opens the menu, Select operations => WhatsApp scheduler.
Alternatively, the WhatsApp Schedule page can also be open from the bot-builder. Click on Actions, Select operations => WhatsApp scheduler.
This will open the WhatsApp Schedules Page.

Step 5:- Open WhatsApp Schedule Detail page
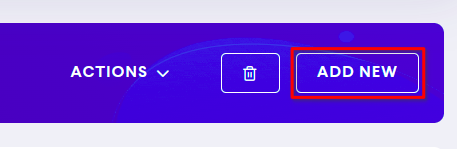
Click on the ADD NEW button
It opens the WhatsApp Schedule Detail page.
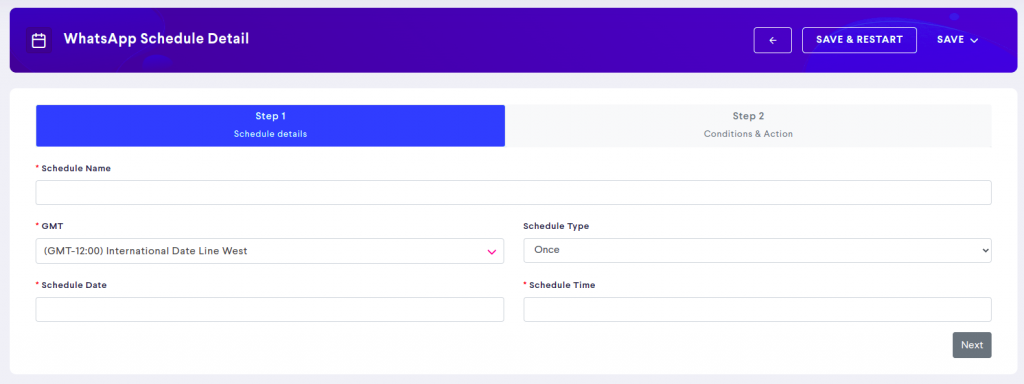
Step 5.1:- Complete Schedule Detail
This step allows selecting the time of broadcasting and occurrences of the broadcasting. In order to schedule the broadcasting, fill the input fields with the respective details they require.
Schedule Name: Input name for Scheduler.
GMT: Select the GMT for the time. For India, it is 05:30 GMT. Check the GMT from GreenwichMeanTime Site.

Schedule Type: Select the type of Scheduler. You can either choose Scheduler for broadcasting once or the Scheduler for broadcasting multiple times.
Schedule Type: Once
For the Once schedule type, the scheduler runs for a single time. Here, the date and time need to give to schedule the broadcasting on that specific day and time.
Schedule Type: Recursive
For the Recursive schedule type, the scheduler can run multiple times. With the Recursive type, the additional options for scheduling come, such as Schedule From Date, and end date options, on any specific date or after the occurrences of the broadcasting. All the available options relative to the recursive Schedule type are listed below.
Schedule From Date:- The date of starting of forwarding message.
Schedule Time:- Time of broadcasting message.
Repeat Every:- Units on which the broadcasting repeats. It provides the option to select the repetition process based on days, weeks, months, or years.
Repeat On:- Repeat on which day(s).
Ends:- It provides the options to select when the scheduling will end. The three available options here are:- Never, On, and After.
The Never option meant for never stopping the schedule.
The On option allows selecting the date on which the broadcasting will stop.
The After option allows placing a threshold on the repetition of the broadcasting. The broadcasting will stop after making provided iterations.
Click on the Next Button to proceed to Conditions and Actions step.

Step 5.2:- Conditions and Actions
This step allows selecting the users and selecting the action to broadcast to the users selected by condition and forward by the chosen action. The options available in this step are described below,
Conditions:- Conditions are used for selecting the users to which the broadcast has to be made.
Actions:- Actions allow selecting the action in which the template message was defined.
Click on the Save button to save the schedule. The schedule will come into effect once the scheduled date and time occur.